How to Grow Star Anise (Illicium verum) at Home
Star anise (Illicium verum) is a fragrant spice with a striking flavor and valuable medicinal properties. Native to Asia, this evergreen tree is widely used in cooking, herbal infusions, and natural remedies. Growing star anise at home lets you enjoy fresh, chemical-free spice without relying on store-bought options. Below you’ll learn how to plant, care for, and harvest star anise in your own space.

What Is Star Anise?
Star anise is the dried fruit of the Illicium verum tree. Its star-shaped pods and intense licorice-like flavor make it easy to recognize. Though it tastes similar to common anise, its aroma is usually stronger and more complex.
The spice is used in:
- Herbal teas and infusions
- Savory and sweet dishes
- Natural remedies
Thanks to its digestive, anti-inflammatory, and antimicrobial properties, star anise is valued in both culinary and traditional medicine practices.
Can You Grow Star Anise at Home?
Yes. Star anise can be grown at home, although it is a slow-growing tree that requires patience and consistent care. It thrives in warm, humid climates, but with proper protection and the right setup, it can also be cultivated in pots or gardens in mild to temperate regions.
If you live in an area with cold winters, growing star anise in containers makes it easier to move the plant indoors or to a sheltered location.
Materials and Growing Conditions
To successfully grow star anise at home, you will need:
- Fresh seeds from a reliable supplier
- Pot or garden bed with excellent drainage
- Rich, well-draining substrate, ideally a fertile soil mixed with sand to prevent waterlogging
- Plenty of sunlight, ideally 6–8 hours of direct sun per day
- Moderate watering to keep the soil consistently moist but not saturated
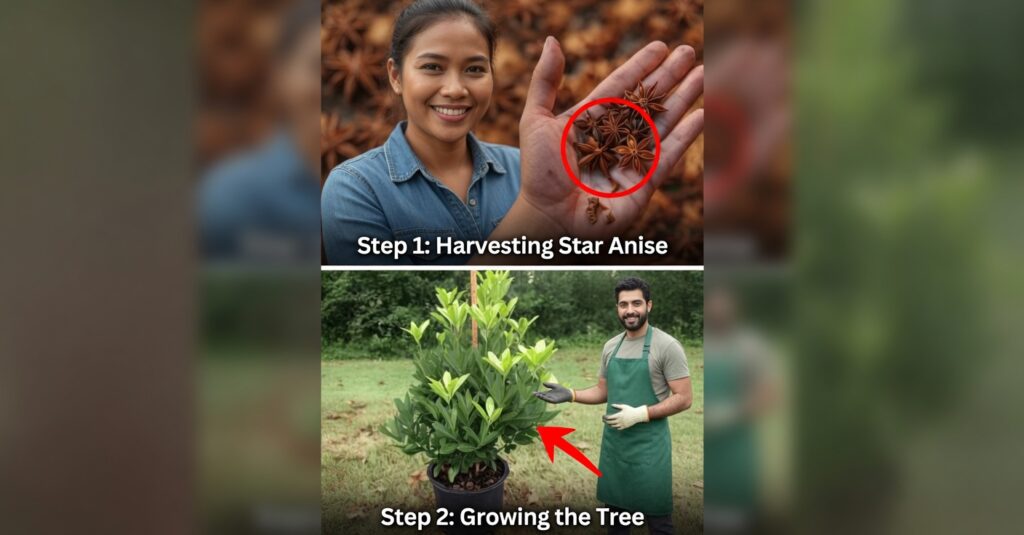
Step-by-Step: How to Grow Star Anise
1. Preparing the Soil and Pot
Choose a light, well-aerated soil that drains easily. If you are using a pot:
- Make sure it has drainage holes at the bottom.
- Use a mix of fertile soil and sand or perlite to avoid standing water.
Good drainage is essential to prevent root rot.
2. Germinating Star Anise Seeds
Follow these steps to germinate star anise seeds successfully:
- Soak the seeds in warm water for about 24 hours.
- Plant the seeds at a depth of 1–2 cm (about 0.4–0.8 inches).
- Maintain a temperature between 20–25°C (68–77°F).
- Cover the pot with plastic film or a transparent lid to retain moisture.
- Keep the substrate moist but not soaked.
Germination usually takes 4 to 6 weeks, so be patient and avoid disturbing the seeds during this period.
3. Initial Care for Seedlings
Once the seeds have sprouted:
- Place the seedlings in a bright location with plenty of sunlight.
- Water moderately, ensuring the soil stays slightly moist.
- Protect young plants from strong drafts and sudden temperature changes.
These early weeks are critical for establishing strong, healthy growth.
4. Transplanting the Young Plants
When the seedlings reach around 10 cm (about 4 inches) in height, they are ready to be moved:
- Transplant them into a larger pot or directly into the garden.
- If you live in a cooler climate, it’s better to keep them in containers so you can move them indoors during winter.
- Handle the roots carefully to avoid damaging the young plant.
Ongoing Care for Star Anise Plants
To keep your star anise tree healthy and productive, pay attention to these key aspects:
- Light: Provide at least 6 hours of direct sunlight each day.
- Watering: Maintain evenly moist soil, but never water to the point of flooding. Let the top layer dry slightly between waterings.
- Fertilizing: Apply an organic fertilizer once a month during the growing season to support steady growth.
- Pruning: Remove dry, damaged, or crossing branches to encourage better airflow and new growth.
Consistent care will help your tree develop into a strong, productive plant over the years.
Harvesting Star Anise
Star anise is not a fast-yielding plant. The tree typically begins to produce fruit around 6 years after planting.
To harvest:
- Monitor the pods as they mature on the tree.
- Harvest when the star-shaped pods begin to dry and harden while still attached to the branches.
- Cut the pods from the tree and lay them in the sun to dry completely.
Once fully dried, the pods turn a deep brown color and can be stored in airtight containers for use as a spice or in herbal preparations.
Common Problems and How to Solve Them
Overwatering
- Issue: Excess moisture can cause root rot and yellowing leaves.
- Solution: Reduce watering, improve drainage, and allow the soil to dry slightly before watering again.
Pests
- Common pests: Mites and aphids can attack young leaves and stems.
- Solution:
- Spray the plant with water mixed with mild soap.
- Use organic insecticides if the infestation is more severe.
Always inspect the plant regularly to catch problems early.
Benefits of Growing Star Anise at Home
Cultivating your own star anise offers several advantages:
- Cost savings: Star anise can be expensive in stores; growing it at home helps reduce long-term costs.
- Medicinal use: Ideal for making homemade digestive and anti-inflammatory infusions.
- Better quality: You control the growing conditions, ensuring the spice is fresh, natural, and free from synthetic chemicals.
Conclusion
Growing star anise at home takes time and patience, but the results are rewarding. With the right conditions and consistent care, you can enjoy a fragrant, medicinal, and culinary spice straight from your garden or balcony, year after year.