Simple No‑Churn Homemade Ice Cream
Create rich, creamy ice cream at home with just a handful of ingredients and no special machine. This easy recipe is perfect for beginners and can be customized with your favorite flavors and mix-ins.
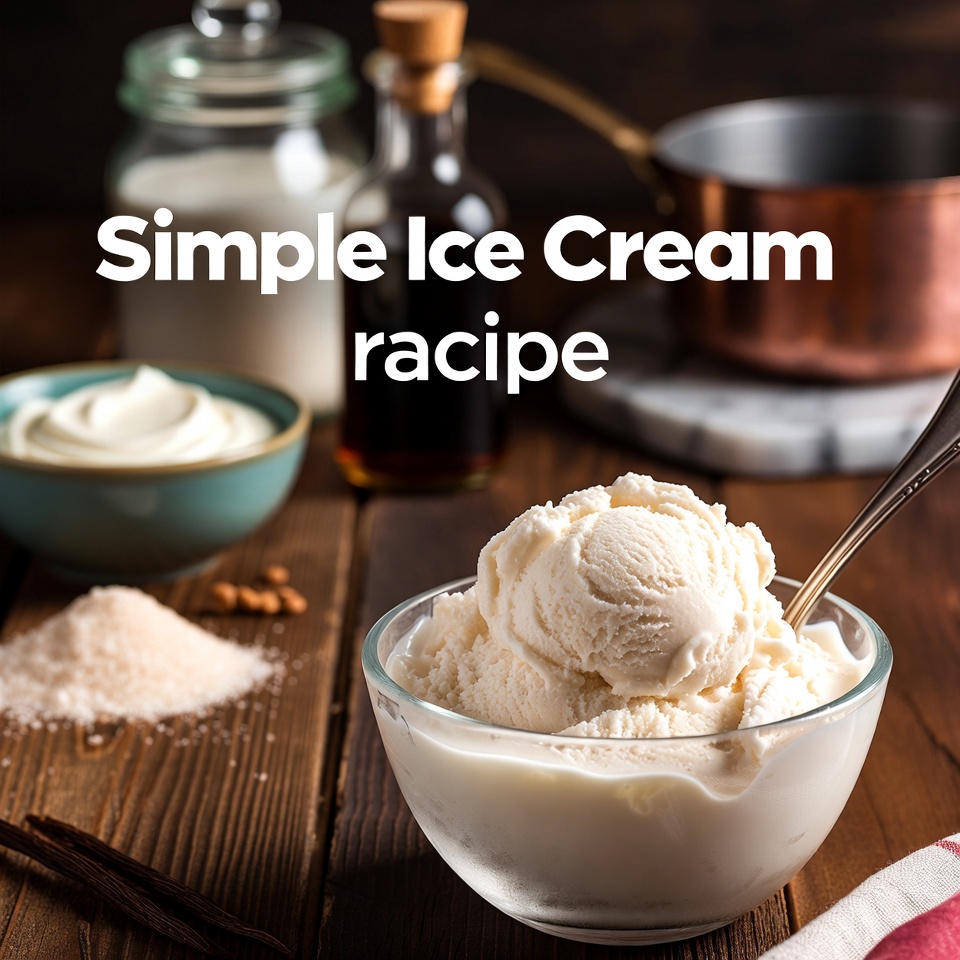
Ingredients
Core Ingredients
Use fresh, high-quality ingredients for the best taste and texture:
- Heavy cream (thick cream)
- Sweetened condensed milk
- Vanilla extract
- Optional flavor add-ins: chocolate chips, chopped nuts, fruit pieces, cookie crumbs, etc.
The quality and freshness of your cream, milk, and flavorings will directly influence how smooth, rich, and flavorful your homemade ice cream turns out.
Tools You’ll Need
You don’t need a fancy ice cream maker—just basic kitchen tools:
- Mixing bowls
- Whisk
- Electric mixer (hand or stand mixer)
- Airtight, freezer-safe container
These simple tools are enough to whip, mix, and freeze your ice cream mixture smoothly from start to finish.
Step‑by‑Step Preparation
Follow this straightforward method to make your ice cream base:
-
Whip the Cream
Pour the heavy cream into a large mixing bowl. Beat with an electric mixer until stiff peaks form. The cream should hold its shape when you lift the whisk. -
Fold in the Sweetened Condensed Milk
Gently fold the sweetened condensed milk into the whipped cream. Mix slowly to keep as much air in the mixture as possible. -
Add Vanilla Extract
Stir in vanilla extract to enhance the flavor and aroma. -
Mix in Optional Add‑Ins
Fold in any extras you like—such as chocolate chips, nuts, fruit, caramel bits, or cookie pieces—until evenly distributed. -
Freeze
Transfer the mixture to an airtight, freezer‑safe container. Smooth the top, seal, and freeze for about 4–6 hours, or until firm.
Why Make Ice Cream at Home?
Homemade ice cream offers several advantages over store‑bought:
- Healthier swaps: Adjust ingredients for less sugar, fewer additives, or dietary needs.
- Fully customizable: Control sweetness, flavors, and mix-ins to match your preferences.
- Ingredient transparency: You know exactly what goes into your dessert.
- Cost-effective: Often cheaper than premium ice cream brands, especially for flavored varieties.
What Makes Ice Cream Creamy?
Achieving that luxurious, scoopable texture depends on both ingredients and technique:
-
Balanced ingredients
The ratio of heavy cream to sweetened condensed milk is crucial. Enough fat and sugar help prevent icy texture and keep the ice cream smooth. -
Proper whipping
Whipping the cream to stiff peaks incorporates air, giving the ice cream its light, creamy body. -
Correct freezing
Freezing in an airtight container and allowing enough time to firm up helps minimize large ice crystals and leads to a smoother consistency.
Flavor Variations & Add‑In Ideas
Elevate your basic ice cream with creative twists:
- Mix-in options: Crushed cookies, brownie chunks, chopped chocolate, caramel swirls, fruit puree, jam ribbons.
- Flavor ideas:
- Mint extract with chocolate chips
- Almond extract with toasted almonds
- Strawberry puree and fresh berries
- Cookie butter or peanut butter swirls
Experiment with unexpected combinations to create your own signature flavors.
Serving Suggestions
Present your homemade ice cream in a way that looks as good as it tastes:
-
Stylish presentation
Serve in decorative bowls, waffle cones, or petite dessert glasses. -
Topping ideas
- Sprinkles or crushed nuts
- Chocolate or caramel sauce
- Whipped cream
- Fresh fruit or berry compote
These finishing touches turn a simple scoop into a memorable dessert.
Common Mistakes to Avoid
Steer clear of these pitfalls for better results:
-
Using low-quality ingredients
Thin cream or low-fat substitutes can lead to an icy or less creamy texture. Premium cream and fresh add-ins make a noticeable difference. -
Underwhipping or overwhipping cream
- Underwhipped cream: mixture may be dense or icy.
- Overwhipped cream: can become grainy. Aim for smooth, firm peaks.
-
Improper freezing
Leaving the container unsealed or opening the freezer too often can encourage ice crystals to form.
If you encounter issues like frostiness or lack of creaminess, use the troubleshooting tips below.
Troubleshooting Guide
If your ice cream isn’t turning out as expected, try these quick fixes:
-
Problem: Large ice crystals / icy texture
- Let the ice cream sit at room temperature for a few minutes before scooping; it will soften and feel smoother.
- Next time, ensure the container is tightly sealed and avoid frequent opening during freezing.
-
Problem: Not creamy enough
- Make sure the cream is whipped to firm, but not broken, peaks before adding condensed milk.
- Avoid adding watery ingredients (like very juicy fruit) without balancing them with extra cream or solid mix-ins.
What Others Say
Many home cooks who’ve tried this simple no‑churn method have:
- Reported consistently creamy, rich results without an ice cream machine.
- Made it a go‑to recipe for family gatherings, kids’ parties, and special occasions.
This easy base has become a favorite because it’s reliable, flexible, and tastes like premium ice cream.
FAQs
1. Can I use low‑fat cream instead of heavy cream?
You can, but the texture will be less rich and creamy. For the best results, stick with heavy or full‑fat cream.
2. How long does the ice cream need to freeze?
Typically, it takes about 4–6 hours to firm up, depending on your freezer’s temperature. For very firm scoops, freezing overnight works well.
3. Can I leave out the sweetened condensed milk?
Sweetened condensed milk is key for both sweetness and creaminess. You can experiment with alternatives such as coconut condensed milk or other sweetened dairy-free substitutes, but the texture and taste will change.
4. Are there vegan options for this recipe?
Yes. For a vegan version:
- Replace heavy cream with coconut cream or a rich plant-based whipping cream.
- Replace sweetened condensed milk with coconut condensed milk or another vegan condensed milk alternative.
5. Do I need an electric mixer?
An electric mixer makes the process much easier and more consistent. However, you can use:
- A manual whisk or even a fork to whip the cream—just be prepared to whisk vigorously until stiff peaks form.
6. What if my electric mixer stops working?
You can continue by switching to a manual whisk. It requires more time and effort but can still produce the stiff peaks needed for a fluffy texture.
7. Can I reduce the sweetness?
Yes. You can:
- Use less sweetened condensed milk, or
- Substitute part of it with an unsweetened dairy or non-dairy alternative, or
- Use other sweeteners (such as maple syrup, agave, or a sugar substitute), keeping in mind that the texture may change slightly.
8. How long can homemade ice cream be stored?
If kept in an airtight, freezer-safe container, your ice cream can be stored for up to 2 weeks. After that, it may start to develop more ice crystals and lose some flavor.
9. Can I double the recipe?
Absolutely. You can double or even triple the quantities as long as you have:
- A large enough bowl to whip the cream, and
- Enough freezer-safe containers for the finished mixture.
10. Can I use other extracts besides vanilla?
Yes. Try different extracts to create new flavor profiles:
- Mint extract for mint chocolate chip
- Almond extract for a nutty note
- Orange or lemon extract for a citrus twist
Adjust the amount carefully, as some extracts are stronger than vanilla.
Conclusion
Making ice cream at home is both fun and rewarding. With just four basic ingredients and no ice cream maker, you can create a dessert that often tastes better than store-bought versions. Play with flavors, customize sweetness, and enjoy a creamy treat tailored exactly to your taste.