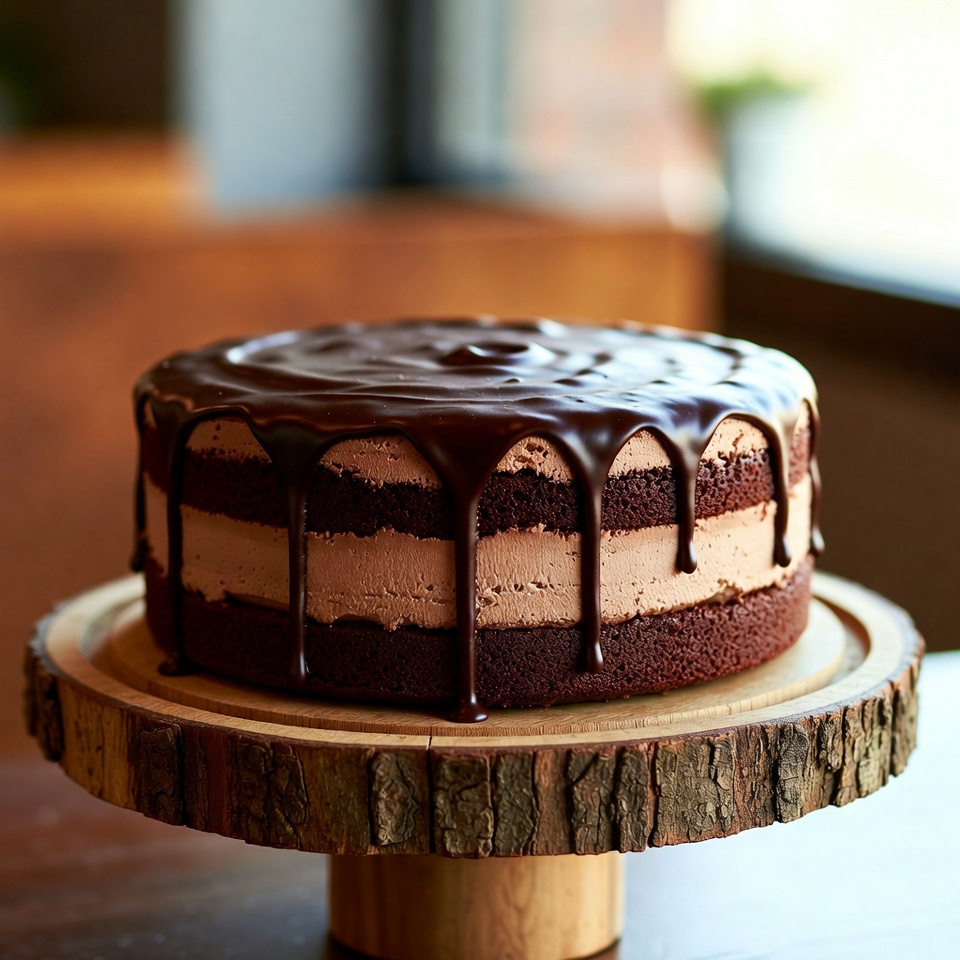
Chocolate Cake with Creamy Filling and Rich Ganache
Create a show-stopping layered chocolate cake with a silky cream cheese filling and glossy chocolate ganache. Optional vanilla or white chocolate frosting adds an elegant finishing touch.
Ingredients
Chocolate Cake Layers
- 2 cups all-purpose flour
- 2 cups granulated sugar
- 3/4 cup unsweetened cocoa powder
- 2 teaspoons baking powder
- 1 1/2 teaspoons baking soda
- 1 teaspoon salt
- 1 cup buttermilk, at room temperature
- 1/2 cup vegetable oil
- 2 large eggs, at room temperature
- 2 teaspoons vanilla extract
- 1 cup boiling water
Creamy Filling
- 1 cup heavy cream
- 1/2 cup powdered sugar
- 8 oz cream cheese, softened
- 1 teaspoon vanilla extract
Chocolate Ganache
- 8 oz semisweet or dark chocolate, finely chopped
- 1 cup heavy cream
- 1 tablespoon unsalted butter (optional, for extra shine and smoothness)
Optional Vanilla or White Chocolate Frosting
- 1/2 cup unsalted butter, softened
- 2 cups powdered sugar
- 1 teaspoon vanilla extract
- 2–3 tablespoons heavy cream
- 4 oz white chocolate, melted and cooled (optional, for white chocolate frosting)
Instructions
1. Bake the Chocolate Cake
- Heat the oven to 350°F (175°C). Grease and flour two 9-inch round cake pans, or line the bottoms with parchment paper.
- In a large bowl, sift together flour, sugar, cocoa powder, baking powder, baking soda, and salt. Whisk to combine evenly.
- Add the buttermilk, vegetable oil, eggs, and vanilla extract to the dry ingredients. Beat on medium speed until the batter is smooth and well mixed.
- Turn the mixer to low and slowly pour in the boiling water. Mix just until incorporated. The batter will be quite thin—this is normal and helps create a moist cake.
- Divide the batter evenly between the two prepared pans.
- Bake for 30–35 minutes, or until a toothpick or cake tester inserted into the center of each layer comes out clean or with just a few moist crumbs.
- Let the cakes rest in the pans for about 10 minutes. Then carefully remove them and place on a wire rack to cool completely before filling and frosting.
2. Make the Creamy Filling
- In a medium mixing bowl, beat the softened cream cheese until completely smooth and creamy.
- Gradually add the powdered sugar, mixing until fully incorporated and no lumps remain.
- Pour in the heavy cream and vanilla extract. Beat on medium-high speed until the mixture becomes light, fluffy, and spreadable.
- Cover and refrigerate the filling until you are ready to assemble the cake. Chilling helps it firm up slightly for easier layering.
3. Prepare the Chocolate Ganache
- Place the finely chopped chocolate in a heatproof bowl.
- In a small saucepan, heat the heavy cream over medium heat until it just begins to simmer (do not let it boil).
- Pour the hot cream over the chocolate. Let it sit undisturbed for 2–3 minutes to soften the chocolate.
- Gently stir from the center outward until the chocolate is fully melted and the mixture is silky and smooth.
- If using, stir in the butter until completely melted for a shinier ganache.
- Allow the ganache to cool slightly at room temperature. It should be pourable but not piping hot when you use it on the cake.
4. Make the Optional Frosting
- In a large bowl, beat the softened butter until smooth and creamy.
- Add the powdered sugar in several additions, mixing well after each addition until the frosting is smooth and free of lumps.
- Add the vanilla extract and 2 tablespoons of heavy cream. Beat on medium-high speed until the frosting is light and fluffy, adjusting with an extra tablespoon of cream if needed for a softer consistency.
- For white chocolate frosting, fold in the melted and cooled white chocolate until fully combined.
5. Assemble the Layered Chocolate Cake
- If needed, level the tops of the cooled cake layers with a serrated knife.
- Place one cake layer on a serving plate or cake stand.
- Spread the cream cheese filling evenly over the top, leaving a small border around the edge if your filling is very soft.
- Gently position the second cake layer on top of the filling.
- Pour the slightly cooled chocolate ganache over the center of the cake, letting it flow toward the edges and drip down the sides for a smooth, glossy finish.
- If using the optional frosting, pipe rosettes, swirls, or a decorative border around the top or bottom edge of the cake once the ganache has started to set.
Strawberry Bombs: Variations and Ideas
Looking to make Strawberry Bombs as a separate treat? Here are some creative ways to customize them.
Filling Variations
- Use ricotta cheese instead of cream cheese for a lighter, more delicate filling.
- Try flavored cream cheese, such as strawberry, vanilla, or honey, for an extra layer of taste.
- Mix in a bit of yogurt or mascarpone for a tangy, creamy twist.
Fruit Add-Ins
- Combine diced strawberries with blueberries or raspberries for a mixed-berry filling.
- Swirl in fruit preserves, jams, or berry purees for added sweetness and intense fruit flavor.
- Add a small amount of citrus zest (lemon or orange) for brightness.
Texture Enhancements
- Stir finely chopped nuts (almonds, pistachios, pecans, or walnuts) into the filling for crunch.
- Roll the outside of the Strawberry Bombs in crushed pretzels for a sweet-and-salty finish.
- Use crushed cookies or graham crackers as a coating for extra texture.
Adjusting Sweetness
- Replace sugar with honey or maple syrup to sweeten the filling more naturally.
- Add a pinch of salt to highlight the flavors and balance the sweetness.
- Reduce the sugar if your fruit or preserves are already very sweet.
Presentation Ideas
- Serve Strawberry Bombs in colorful or decorative cupcake liners for a neat and attractive look.
- Drizzle them with chocolate sauce, strawberry syrup, or caramel before serving.
- Dust lightly with powdered sugar or cocoa powder just before plating.
Tips for Making and Storing Strawberry Bombs
Preparation Tips
- Choose fresh fruit: Use ripe, bright red strawberries that are firm and free of soft spots for the best flavor and texture.
- Chill the filling: If the filling seems too soft or runny, refrigerate it for about 30 minutes before piping or spooning it into the strawberries. This makes it easier to work with and helps it hold its shape.
- Coating evenly: When rolling or coating the bombs, use a fork or small tongs to help turn them, ensuring an even layer of nuts, crumbs, or other coatings.
Short-Term Storage (Refrigerator)
- Ensure the Strawberry Bombs are completely chilled and set before storing.
- Line an airtight container with parchment paper to reduce sticking.
- Arrange the Strawberry Bombs in a single layer, or separate layers with parchment paper.
- Seal the container and refrigerate. They will stay fresh for up to 3 days.
Long-Term Storage (Freezer)
- Place the finished Strawberry Bombs in a single layer on a baking sheet lined with parchment paper.
- Freeze until solid.
- Transfer the frozen Strawberry Bombs to a freezer-safe container or bag, separating layers with parchment paper if needed.
- Freeze for up to 1 month. Thaw in the refrigerator before serving.
Serving the Chocolate Cake
- Allow the assembled cake to rest for about 30 minutes so the ganache can set slightly and the layers can firm up.
- Slice with a sharp, clean knife, wiping the blade between cuts for neat slices.
- Serve and enjoy this rich, indulgent layered chocolate cake with creamy filling and glossy ganache—perfect for any celebration and a guaranteed hit with chocolate lovers.