Easy Homemade Bread Recipe for Beginners
Baking bread at home is both comforting and surprisingly simple. This beginner-friendly homemade bread recipe uses just a handful of basic ingredients and minimal effort. In a short time, you’ll have a soft, warm loaf that makes your kitchen smell amazing. Enjoy it plain, toasted, or as the base for your favorite sandwiches—this simple bread is always a crowd-pleaser.
Ingredients
- 3 ¼ cups all-purpose flour
- 1 packet (2 ¼ tsp) active dry yeast
- 1 ½ tsp salt
- 1 tbsp sugar
- 1 ¼ cups warm water (about 110°F / 43°C)
- 2 tbsp olive oil or melted butter (optional, for a richer taste)
Step-by-Step Instructions
1. Activate the Yeast
- Pour the warm water into a small bowl.
- Stir in the sugar, then sprinkle the yeast over the top.
- Mix gently and let it rest for 5–10 minutes, until the surface becomes foamy.
- A bubbly, creamy layer indicates the yeast is alive and ready to use.
2. Prepare the Dry Ingredients
- In a large mixing bowl, combine the flour and salt.
- Whisk or stir to distribute the salt evenly through the flour.
3. Bring the Dough Together
- Pour the activated yeast mixture into the bowl with the flour.
- Mix with a spoon or spatula until a rough, sticky dough forms.
- If using olive oil or melted butter, add it now and mix until incorporated.
4. Knead the Dough
- Transfer the dough to a lightly floured work surface.
- Knead for about 8–10 minutes, pushing and folding the dough until it is smooth, elastic, and slightly tacky.
- If the dough is overly sticky, sprinkle in more flour 1 tablespoon at a time, just until it becomes manageable.
5. First Rise
- Lightly oil a clean bowl and place the dough inside, turning it once to coat the surface.
- Cover the bowl with a clean kitchen towel or plastic wrap.
- Let it rise in a warm, draft-free spot for about 1–1.5 hours, or until the dough has doubled in volume.
6. Shape the Loaf
- Gently punch down the risen dough to release excess air.
- Shape it into a loaf by rolling or tucking the edges under.
- Place the shaped dough into a greased loaf pan.
7. Second Rise
- Cover the loaf pan with a towel or plastic wrap.
- Allow the dough to rise again for 30–45 minutes, or until it has doubled in size and looks puffy.
8. Bake the Bread
- Preheat your oven to 375°F (190°C).
- Bake the loaf for 25–30 minutes, until the top is golden brown and the bread sounds hollow when tapped on the bottom.
9. Cool the Loaf
- Let the bread rest in the pan for about 10 minutes.
- Remove it from the pan and place it on a wire rack to cool completely before slicing.
- Cooling helps set the crumb and prevents a gummy texture.
Easy Variations for Homemade Bread
Customize this simple bread recipe with these flavorful twists:
-
Herb Bread
Stir 2 tablespoons of dried herbs (such as rosemary, thyme, oregano, or an Italian herb blend) into the flour for a fragrant, savory loaf.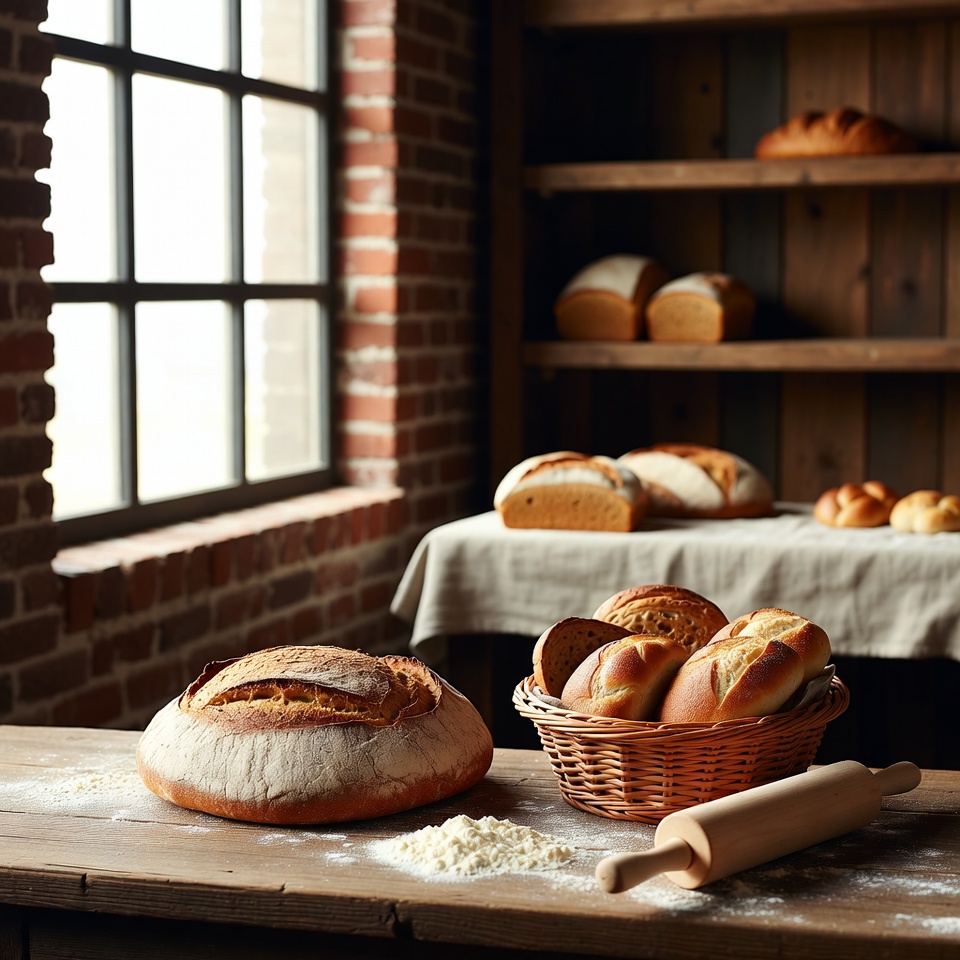
-
Garlic Bread
- Mix minced or crushed garlic directly into the dough for a subtle garlic flavor, or
- Brush the baked loaf with a mixture of melted butter, minced garlic, and a pinch of salt before serving.
-
Whole Wheat Bread
Substitute part of the all-purpose flour with whole wheat flour (for example, use half white flour and half whole wheat) to create a heartier, more nutritious bread. -
Cheese Bread
Fold in shredded cheese—such as cheddar, mozzarella, or parmesan—during the final minutes of kneading for a rich, cheesy loaf. -
Honey Bread
Replace the sugar with honey for a gently sweet flavor and a softer crumb. Mix the honey into the warm water before adding the yeast.
Tips for Making and Storing Homemade Bread
Kneading
- Proper kneading is essential for gluten development, which gives bread its structure and chew.
- Aim for 8–10 minutes of kneading until the dough is smooth, stretchy, and springs back when lightly pressed.
Proofing (Rising)
- Let the dough rise in a warm, draft-free area—near, but not on, a warm oven works well.
- Cover the bowl with a damp towel or plastic wrap so the dough doesn’t dry out.
- The dough should roughly double in size during each rise; time may vary based on room temperature.
Baking
- Always preheat your oven fully before baking. Starting in a hot oven helps create a nice oven spring and a better crust.
- For an extra-crispy crust, place a small pan of hot water on the bottom rack of the oven to create steam during baking.
Cooling
- Allow the bread to cool completely on a wire rack before slicing.
- Cutting into hot bread can compress the crumb and make it seem underbaked or gummy.
Storing Homemade Bread
- Short-term storage:
- Keep the loaf in a bread box or wrap it in a clean kitchen towel at room temperature.
- Avoid storing fresh bread in the refrigerator, as it can dry out faster.
- Freezing bread:
- Slice the loaf, place the slices in an airtight container or freezer bag, and freeze.
- Toast or warm individual slices directly from frozen whenever you want fresh-tasting bread.
How to Store Homemade Strawberry Bombs
If you’ve also prepared Strawberry Bombs and want to keep them fresh for later, follow these storage guidelines:
Cooling
- Let the Strawberry Bombs cool completely before storing.
- Storing them while warm can cause condensation, making the exterior soggy.
Short-Term Storage
- Place the Strawberry Bombs in an airtight container to maintain freshness and protect them from absorbing odors in the refrigerator.
- Store in the fridge if you plan to eat them within 3–5 days.
Freezing Strawberry Bombs
- For longer storage (up to 2–3 months):
- Wrap each Strawberry Bomb individually in plastic wrap or aluminum foil.
- Place the wrapped pieces into a freezer-safe bag or container.
Thawing
- To serve, thaw the Strawberry Bombs in the refrigerator overnight, or let them sit at room temperature for a few hours.
Following these steps helps keep both your homemade bread and Strawberry Bombs fresh, tasty, and ready to enjoy whenever you like.