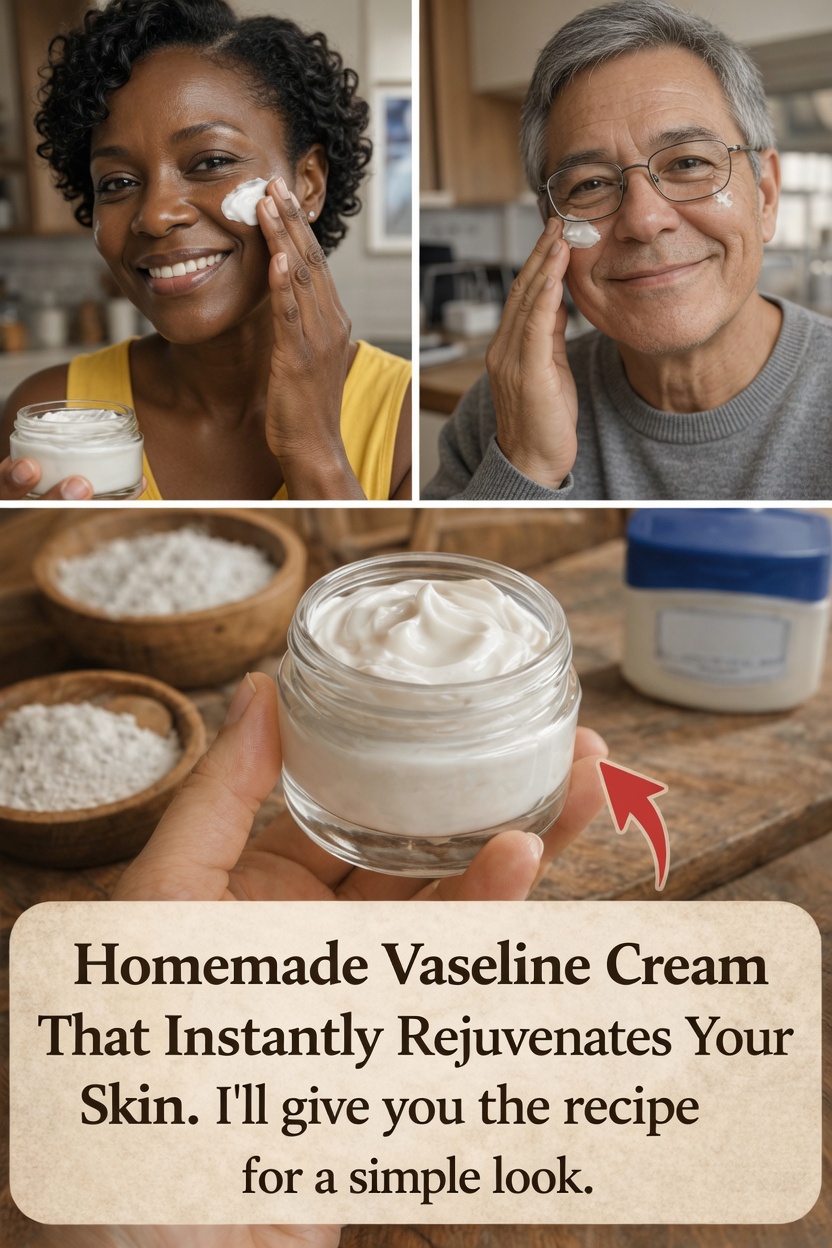
A Simple Guide to Using Petroleum Jelly for Soft, Comfortable Skin
As time passes or the air becomes drier, many people start to notice changes in their skin. It may feel tight, rough, flaky, or simply less radiant than before. Everyday factors such as cold weather, hot showers, strong cleansers, and packed schedules can all leave skin looking dull and feeling uncomfortable. For many, finding a budget-friendly way to keep skin moisturized—without a long routine or costly skincare products—can be surprisingly difficult.
One simple option has gained attention because of how accessible it is: a basic homemade cream built around petroleum jelly. In this article, we’ll look at why petroleum jelly is widely used in skincare, how a DIY version can fit into a daily routine, and the safest way to try it at home. By the end, you’ll have a clear step-by-step method that is easy for many people to follow.
What Is Petroleum Jelly and Why Is It So Popular in Skincare?
Petroleum jelly, commonly recognized through products like Vaseline, is a semi-solid substance made from refined hydrocarbons. It has been recommended by dermatologists for many years because it works as an occlusive ingredient. In simple terms, it creates a protective seal over the skin that helps prevent moisture from escaping.
This is important because skin naturally loses water throughout the day, a process called transepidermal water loss, or TEWL. By slowing that loss, petroleum jelly can help skin remain softer and hydrated for longer, especially when applied after washing while the skin is still slightly damp. According to dermatology experts, ointments like petroleum jelly are often especially helpful for very dry areas compared with lighter lotions.
In its pure and refined form, petroleum jelly is generally considered non-comedogenic, although everyone’s skin reacts differently. It is often used on:
- Lips
- Hands
- Elbows
- Heels
- Other rough or dry patches
Some people also mix it with mild ingredients to create a lighter texture or add a gentle scent. Still, it is important to remember one key point: petroleum jelly does not provide water to the skin on its own. Its real strength is sealing in moisture that is already there.
Why Petroleum Jelly Works Well as a Moisturizer Base
The biggest benefit of petroleum jelly is its ability to reinforce the skin barrier. Research suggests it can significantly reduce moisture loss, which may help skin feel smoother, softer, and more flexible with regular use.
Here are a few common ways people use it in everyday skincare:
- Lock in moisture after washing the face or hands
- Calm dry areas on knees, elbows, or feet
- Protect skin during colder months or in dry indoor environments
- Use as an overnight treatment on rough spots
Another reason it remains popular is affordability. A single jar is inexpensive, lasts a long time, and usually contains very few added ingredients. That makes it appealing to people who prefer simple skincare routines.
That said, skin type matters. Those with oily or acne-prone skin may find it better to use petroleum jelly only on dry patches rather than across the entire face.
Before trying any DIY blend, keep these points in mind:
- Choose a trusted, refined product labeled white petrolatum or USP grade
- Do a patch test on the inner arm and wait 24 hours
- Avoid using it on broken skin unless advised by a professional
- Be cautious around the eye area
A Homemade Cream Idea Using Petroleum Jelly
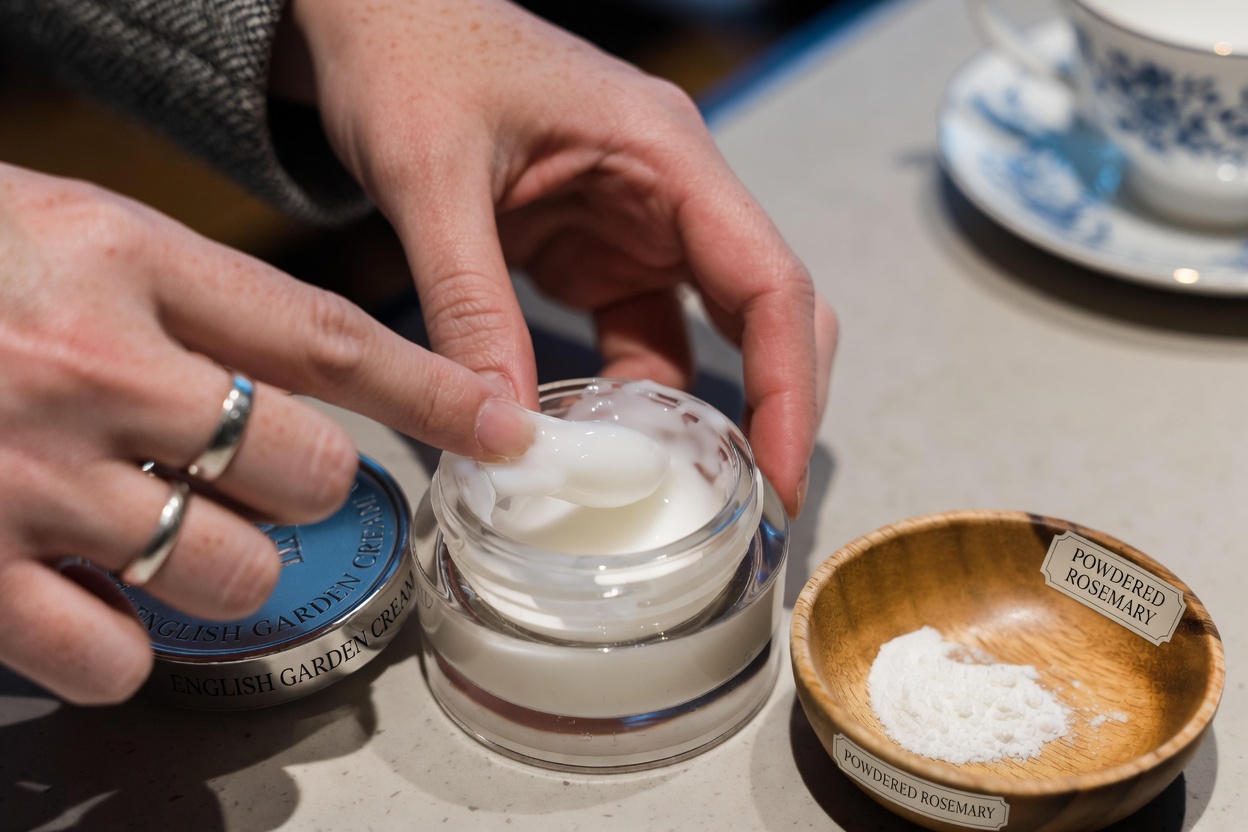
A popular do-it-yourself version combines petroleum jelly with mild powders or oils to make it feel softer, lighter, or more cream-like. This kind of recipe is often shared as an affordable way to customize texture while still benefiting from the moisture-sealing effect of petroleum jelly.
Common add-ins include:
- Rice flour
- Cornstarch
- Small amounts of skin-friendly oils
- Optional fragrance from a carefully chosen essential oil
The purpose of these additions is usually to reduce the heavy feel of plain petroleum jelly and make it easier to spread. For many people, this approach is attractive because the ingredients are inexpensive and often already available at home. It can also make skincare feel more intentional and relaxing.
However, homemade skincare does come with limitations. Unlike commercial creams, DIY mixtures are not tested for long-term stability and usually do not contain preservatives. Because of that, they should be made in small amounts and used relatively quickly.
Step-by-Step: How to Make a Basic Petroleum Jelly Cream at Home
If you want to test a simple homemade version, hygiene should come first. Start with clean hands, clean tools, and a sanitized container.
Ingredients and Supplies
You will need:
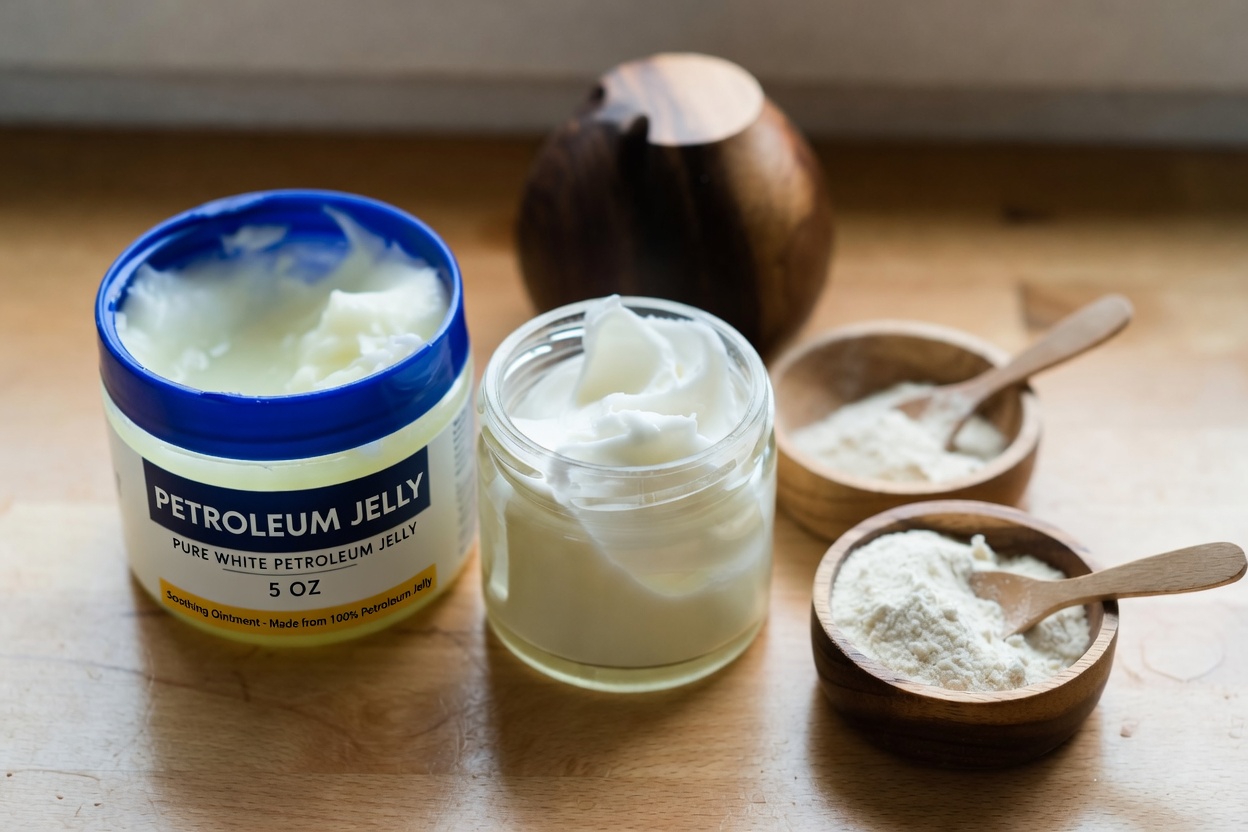
- 2 tablespoons of pure petroleum jelly
- 1/2 teaspoon of a fine neutral powder such as rice flour or cornstarch
- A clean glass jar or microwave-safe bowl
- A spoon or spatula for mixing
- Optional: 1 to 2 drops of a skin-friendly essential oil, such as lavender, if your skin tolerates it
Method
- Place about 2 tablespoons of petroleum jelly into a clean bowl or jar.
- Warm it gently using a double boiler or very short microwave bursts until it softens. It should become easy to stir, but it does not need to turn fully liquid.
- Add 1/2 teaspoon of rice flour or cornstarch.
- Mix well until the texture becomes smooth and creamy.
- If desired, add 1 to 2 drops of a mild essential oil for fragrance. Skip this step if your skin is sensitive.
- Let the mixture cool completely at room temperature. It should become slightly firmer while still remaining spreadable.
Storage Tips
Store the finished cream in:
- A clean, airtight container
- A cool, dry place
- Small batches only
For best safety, use it within 1 to 2 weeks. Throw it away if you notice a change in smell, color, or texture.
Best Ways to Apply It
For better results:
- Apply it to clean, slightly damp skin
- Start with a pea-sized amount
- Focus on the driest areas first
- Watch how your skin responds over several days
- Pair it with a gentle cleanser and sunscreen as part of a simple routine
Many people say their skin feels softer when they use this type of cream regularly at night, especially in dry climates or during colder seasons.
How to Add It to Your Skincare Routine
When it comes to skin comfort, consistency usually matters more than using a large amount. A petroleum jelly-based cream is often best used as the final step in an evening routine, after cleansing and after any lighter products such as serums or toners.
For daytime use, some people prefer lighter moisturizers and reserve heavier occlusive products for nighttime or only for certain dry spots. And no matter how moisturizing a product may be, it does not replace sun protection. In the morning, always apply a broad-spectrum sunscreen.
If you have combination skin, you do not have to use the cream everywhere. A more balanced approach may be:
- Use the homemade cream on cheeks or dry zones
- Apply a lighter gel or lotion to the T-zone
- Reduce use if the skin feels greasy or looks overly shiny
This is where personal adjustment becomes important. The ideal routine can vary based on age, climate, skin type, and daily habits.
Important Precautions Before You Try It
Although properly refined petroleum jelly has a strong safety profile, homemade blends introduce extra variables. Powders and oils can affect the final texture and may cause irritation if they are not clean, fresh, or finely milled.
Be careful if:
- You have very sensitive skin
- You have eczema or another skin condition
- You are prone to irritation from fragrance or essential oils
- You have active acne or inflamed breakouts
People with chronic skin concerns should speak with a dermatologist before trying DIY skincare recipes. Also, avoid placing heavy occlusive products over active blemishes, since they may trap sweat, oil, or debris against the skin.
It is also worth keeping expectations realistic. No topical product will dramatically transform skin overnight. Most improvements in softness, comfort, and smoothness come from regular moisture support and gentle care over time.
Store-Bought vs. Homemade: Which One Is Better?
If you are deciding between a ready-made moisturizer and a DIY petroleum jelly cream, this simple comparison may help.
1. Texture and Finish
- Store-bought creams often contain emulsifiers and texture enhancers, so they usually feel lighter and less greasy.
- Homemade versions tend to feel richer, heavier, and more protective.
2. Cost
- Petroleum jelly is inexpensive and lasts a long time.
- Adding pantry staples keeps the total cost low compared with many premium skincare products.
3. Customization
- Homemade blends let you adjust texture and ingredients based on your preference.
- Commercial products offer convenience but less flexibility.
4. Safety and Stability
- Store-bought products are generally tested for shelf life, stability, and preservation.
- DIY creams should be made in small batches and used quickly because they do not have the same protection against contamination.
For many people, the best choice depends on what matters most: simplicity, cost, texture, or convenience.
Final Thoughts
Petroleum jelly remains one of the most practical and affordable skincare staples for protecting dry skin. Its greatest benefit lies in helping the skin hold on to moisture, which can improve softness and reduce that uncomfortable tight feeling many people experience in dry weather or with age.
A homemade petroleum jelly cream can be a simple way to personalize your routine without spending much money. When made carefully and used thoughtfully, it may be a helpful addition for dry patches, nighttime use, or seasonal skin support.
The key is to keep the formula simple, patch test first, and pay attention to how your skin reacts. With a clean process and realistic expectations, this easy DIY approach can become a useful part of everyday skincare.