Introduction
Making homemade yogurt with just two ingredients is surprisingly easy and very satisfying. This simple method lets you enjoy fresh, creamy yogurt at home without special machines, additives, or preservatives. All you need is milk and a small amount of plain yogurt with live cultures to kick-start fermentation.
With only a few basic steps and some waiting time, you can prepare a generous batch of yogurt in a matter of hours. Homemade yogurt is perfect for breakfast bowls, smoothies, snacks, or as a base for parfaits, and you can easily customize it with your favorite fruits, nuts, sweeteners, or flavorings.
Ingredients
- 1 liter of milk (whole milk for best creaminess, or your preferred dairy or non-dairy milk)
- 2 tablespoons plain yogurt with live active cultures (this is your starter)
Basic Instructions
-
Heat the milk
Pour the milk into a pot and warm it over medium heat, stirring occasionally so it doesn’t scorch or stick.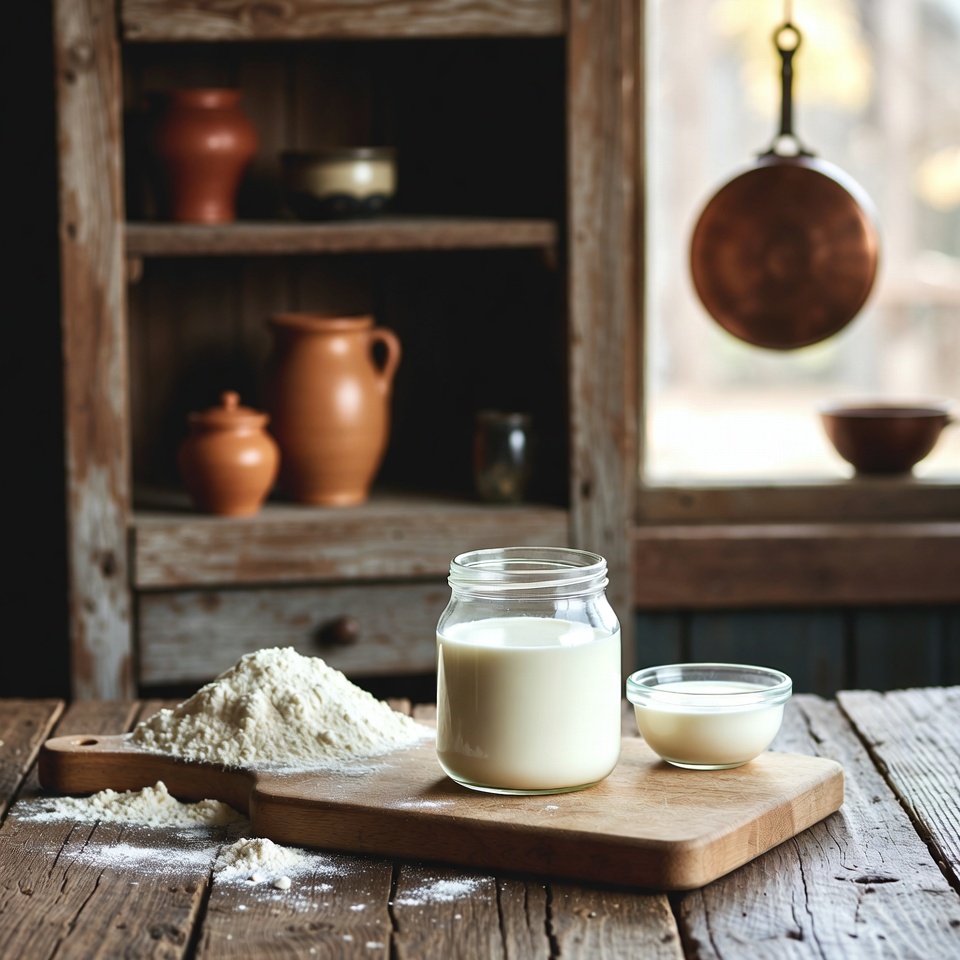
-
Bring to 180°F (82°C)
Heat until the milk reaches about 180°F (82°C), just below boiling. Then remove the pot from the heat. -
Cool the milk to 110°F (43°C)
Let the milk cool down until it reaches around 110°F (43°C). You can use a thermometer or test with a clean finger—it should feel comfortably warm, not hot. -
Mix the starter yogurt
In a small bowl, combine the 2 tablespoons of plain yogurt with a little of the warm milk. Stir until the yogurt is fully blended and smooth. -
Combine with the rest of the milk
Pour this yogurt mixture back into the pot with the remaining warm milk, stirring gently to distribute the cultures evenly. -
Transfer to a container
Pour the mixture into a clean jar or container. Cover it well with a lid, cloth, or plastic wrap to help maintain warmth during fermentation. -
Ferment in a warm place (6–12 hours)
Set the covered container in a warm, draft-free spot. This could be:- An oven with just the light turned on
- A yogurt maker
- A container wrapped in towels to retain heat
Let it sit undisturbed for 6–12 hours, depending on how thick and tangy you want your yogurt. Longer fermentation gives thicker, more tart yogurt.
-
Chill the yogurt
Once the yogurt has set and reached your preferred consistency, place it in the refrigerator for at least 2 hours to cool and firm up further. After chilling, it’s ready to eat or store.
How to Make Yogurt at Home (Step-by-Step with Details)
-
Heat to denature the proteins
Warming the milk to about 180°F (82°C) helps change the structure of milk proteins, which leads to a smoother, creamier texture in the finished yogurt. Stir occasionally to prevent burning at the bottom of the pot. -
Cool to the right fermentation temperature
Allow the milk to cool to around 110°F (43°C). At this temperature, the live cultures in the starter yogurt can thrive and ferment the milk without being destroyed by excess heat. A quick check: dipping a clean finger into the milk should feel pleasantly warm, not hot. -
Prepare the starter mixture
Place 2 tablespoons of plain yogurt with live active cultures into a small bowl. Gradually whisk in a few spoonfuls of the warm milk. This step helps the starter blend smoothly, avoiding lumps and ensuring even fermentation. -
Mix thoroughly with the rest of the milk
Pour the starter-milk mixture back into the pot of warm milk. Stir gently but thoroughly so the cultures are spread evenly throughout the milk, which helps the yogurt set uniformly. -
Pour into a container and cover
Transfer the mixture into a clean glass jar, bowl, or container. Cover tightly with a lid, or use a cloth or plastic wrap if a lid is not available. The goal is to retain warmth and prevent drafts. -
Maintain a warm, steady temperature
Place the container where the temperature stays roughly between 100°F and 110°F (37°C–43°C). If you don’t have a yogurt maker, you can:- Wrap the container in towels or a blanket
- Put it in the oven with only the interior light on
- Place it in a warm corner of your kitchen
Leave it untouched for 6–12 hours. Shorter time = milder and thinner yogurt; longer time = thicker and tangier yogurt.
-
Refrigerate to set
When the yogurt has set, move it to the refrigerator and let it chill for a few hours. This helps it firm up and improves the texture before serving.
Tips for the Best Homemade Yogurt
-
Choose the right milk
Use milk without added thickeners, stabilizers, or flavorings for the best results. Whole milk usually produces the richest and creamiest yogurt, but you can experiment with low-fat, skim, or plant-based milks according to your preference. -
Use a good-quality starter
The plain yogurt you use as a starter must contain live active cultures. Check the label for probiotics or “live cultures,” as these are essential for fermentation. -
Keep the temperature steady
Consistent warmth is key. If the mixture gets too hot, the cultures can die; too cool, and fermentation slows or stops. Aim to keep it in the 100°F–110°F (37°C–43°C) range during the setting time. -
No thermometer? Use the finger test
If you don’t have a thermometer, dip a clean finger into the milk—it should feel warm and comfortable, not hot or scalding. -
Adjust thickness to your taste
- For thicker yogurt: Let it ferment closer to 10–12 hours.
- For softer, milder yogurt: Shorten the fermentation to around 6–8 hours.
-
Avoid stirring too early
Once the yogurt has finished fermenting, place it directly in the fridge and let it cool completely before stirring. Mixing too soon can break the delicate structure and make it runnier. -
Flavor after chilling
Add flavorings only after the yogurt is chilled. Try:- Fresh or frozen fruit
- Honey, maple syrup, or sugar
- Vanilla extract, cinnamon, or other natural flavorings
Sweeten to taste if you prefer a dessert-style yogurt.
-
Save some for next time
Keep a small portion of your homemade yogurt to use as the starter for your next batch. This makes future homemade yogurt even easier and more economical.
Conclusion
Making yogurt at home with just two ingredients is an easy, budget-friendly, and rewarding process. You get fresh, creamy yogurt without added sugars or preservatives, and you can tailor the flavor and consistency exactly to your liking.
With a bit of patience and the right temperature, you’ll have a generous batch of 2-ingredient homemade yogurt ready whenever you need it. Plus, by reserving a little as your starter, you can keep the cycle going and enjoy homemade yogurt again and again.